PLEASE read my comments and don't just scroll through the pictures!! I have a lot of explaining to do!!!
I did a final walk through of the property a few weeks ago and took some pictures. I really didn't want to share them since the property wasn't complete. But, after another drive by today, I realized that this is probably as good as it's going to get. The home owner has gone over seas for the summer, so not much more will be done with the property anytime soon.
This project took way longer than I anticipated, and it kills me that the house just didn't make it to the level I wanted it to. I pushed the home owner to include details that would give the home that extra umph and designer touch, but it always came back to lack of time and money. Two things I was under the impression we had a lot more of, than we actually did.
In the end, I feel like I was led in the wrong direction as to what the purpose and value of this house was meant to be. I feel like I really let this house down because of the lack of communication and honesty. This house has great potential, but designing it for resale is so so so so different than designing it for an older couple from over seas. Which one is it??? I still don't know!! Oh, how I have learned so much from this project!!!!
 |
| Before! This was one of my first days visiting the property |
 |
| After! |
This was my original plan for the exterior. Original post found
here.
I really wanted to incorporate some wood details. A wood gable bracket, door trim, garage door etc... Still can.... hint hint!!!
Some extra exterior pics....
 |
| Desperately needs landscaping. Some nice tall cedars to fill up the empty space between the front windows. |
 |
| Still missing a light fixture. And I'm not sure what happened to the gable., It should have been way more recessed to allow for a wood gable bracket. But I LOVE the stone columns. They turned out amazing. |
 |
| Oh that chimney is killing me!!! Take it down. Plllllease. |
 |
| I'd like to see the garage doors trimmed in wood. Hopefully that gets done. In my opinion, the garage doors should have been faux wood to match the front door. But that costs $$$!!! |
 |
| Really happy with the colour of the siding against the stone. But OMG. When I saw these windows, I just about had a heart attack. There are no words for this. Someone, please just paint the white trim before I fall over. |
 |
| You can get a nice view of the stone detail. Lots of colour and texture. I love it. |
I couldn't get a good shot of the deck since the sod was just laid and a muddy mess. My original deck design
here... yea, not even close?!?!?
 |
| Look at that back yard!!! |
 |
| Pool, pool, pool!!! |
 |
| I love this front door. My goodness it took hours, upon hours to order that sucker. I really didn't want the side lites to be framed. I wanted it to be one huge piece of glass. Not sure what happened there, but whatever!!! And, the colour is a little off. Should have been slightly lighter. But you have to admit, that's a bloody nice door. |
 |
| Left side |
Front Entry
 |
Kashmir Gold granite tiles. That's not the right light fixture (That's actually the exterior fixture!). There was a mix up. Hope the right one was finally installed because it's gorgeous.
|
Powder Room
 |
| My original powder room design. Click here for original post |
 |
| Powder room almost complete! The tiles are onyx from Pakistan (which is where the home owner is from). They are gorgeous! |
Master Ensuite....
 |
| My Original ensuite design. Click here for original post. |
No marble allowed in the ensuite (~tear~), so we decided to go with a calm, neutral palette using porcelain.
Unfortunately, the cabinet maker took it upon himself to redesign my custom vanity and really made the ensuite a mish mash of styles. It's so disappointing when you work hard on a design, and it's just not executed properly. It was too late and too costly to get the vanity fixed, so it's going to stay for now. My advice is to change the knobs to something more delicate, and possibly paint it white.
Master Bedroom
 |
| I'm obsessed with the wall colour!!! Love it. BUT AHHHHH, who put up those black curtain rods. BLACK??? noooooo |
Fireplace
 |
| Fireplace BEFORE!! |
 |
| Fireplace After!!! I painted the insert black. You can't really see it in the pics. |
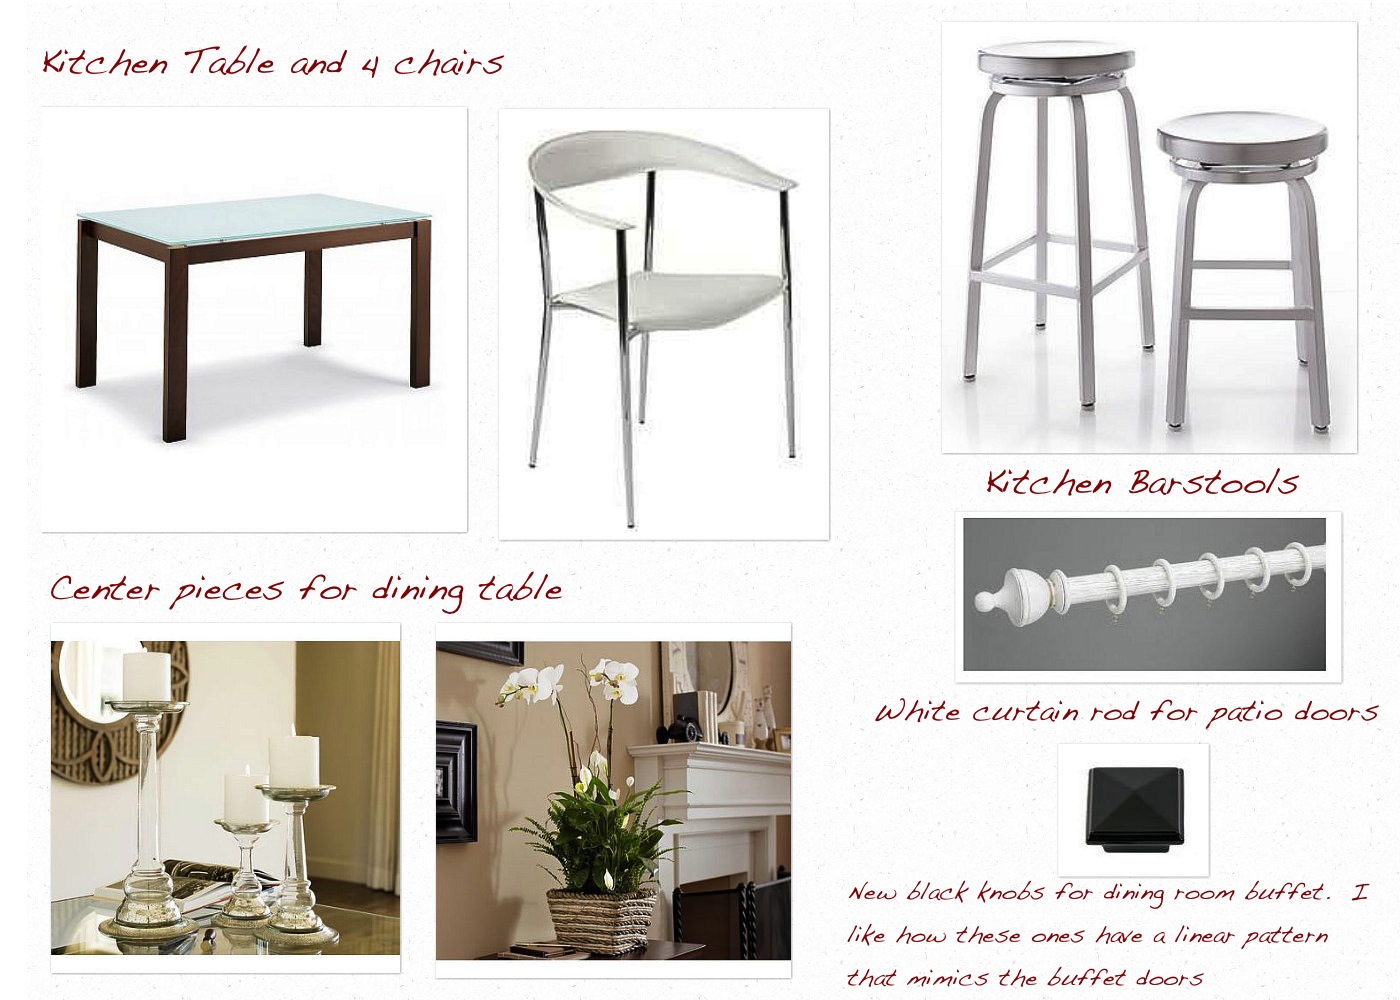
Kitchen
 |
| My original kitchen design. Click here for original post |
Wow, my pictures suck!!! sorry!!!
 |
| Wet bar. I'm so happy with how it turned out! |
 |
| Missing the other 2 hanging lights!!!! There should be 3! |
 |
| I LOVE the herringbone backsplash |
So that's about it. Now you've seen the end of my project. It was a lot of work, but fun. I love designing new homes, it's by far my favourite thing to do. I love working on floorplans and designing from scratch is amazing. It was certainly a challenge working with this home owner, but I have learned sooooo much. I'd love to jump back in the house and change a few things, but there comes a point where you just have to let it go and be. I can only voice my opinion so many times, and it's up to the home owner to take it or not.
All in all, who ever ends up living in this house is lucky. It's a beautiful home, on a beautiful lot, and has the bones to last forever.