Feb 13, 2014

Painted Hutch Before & After

Rememeber the guy that bought my black accent tables???  (blog post found here) 
I just finished up his first piece - the hutch.  It used to be that forest green stain that was only popular in the early 90s, but now, it's updated and gorgeous in black and beige.

Before:


After:


The exterior is painted in Annie Sloan Graphite.  The inside is Country Grey.
I did a layer of Country Grey beneath the Graphite so when I distressed the piece, you could see Counrty Grey, not forest green!! The drawer hardware was an awkward size, so I couldn't just replace it.  I would have had to do something like drill new holes, fill holes, use a black plate blah blah blah... no thanks.  I just painted them graphite and they look great!

Feb 1, 2014

Huge Trend!!

I can't believe what a trend painted furniture has become.  I was in Home Sense last night and was overwhelmed at the amount of painted pieces they had.  And even more overwhelmed at the prices!!!  They charge a fortune for this stuff.  

Before I started getting an evil eye from one of the staff, I snapped some pics of what they had on the floor.

I can do ALL of these finishes.... for half the price :)


Jan 29, 2014

A few projects here and there....

I don't always blog all of the projects I am working on.  Honestly, I would if I were smart enough to take before and after pics of everything.  But I ALWAYS forget to take pics. And when I do, I am usually just taking a quick shot with my phone.  Shame on me.

Anyway, here are a few random pieces I haven't shown and came across when downloading my pics to my computer....

This side table and vanity is for a wonderful client I met over kijiji.  She purchased a piece from me not too long ago, and ever since, she's been dropping pieces off at my house!! Love her furniture, love her taste and just love her.... hilarious lady :)


An outdated blanket box get a coat of duck egg.


For Christmas this year, I did this jewelry cabinet for my mom.  It matches the console table I did for her a few months ago.  It's an olive green with a dark wax finish.


I just finished this Ikea piece for a good friend of mine.

Ahhhhhh, you can see my horrible mess workshop....

This bad boy was going to be donated to my kid's school for a raffle, buuuut then James saw it.  Yea, it's not leaving my house now!!!


Jan 25, 2014

Graphite Accent Tables

Right now I am working on a HUGE project for a new client.  I'm painting his entire dining room set which includes a 2 piece hutch, 6 chairs and a massive harvest table.  It's a big job on a normal day, but especially big when I am painting in my dining room over the winter.  It's impossible to paint in my garage when it's -20c.  Bless my patient husband.  He's never complained once.

Anyway, the client wasn't sure of what colour he wanted.  He was pushing towards black, so I agreed to do some side tables I had laying around in Graphite, so he could get an idea of what Annie Sloan's black would look like.  Annie Sloan Graphite isn't a true black.  It's more of a dark, slate gray, so I was really worried he wouldn't go for it.  I was stressing over this for days.  His pieces are all that hideous forest green, so going with a lighter colour would be such a pain in the ass.  I was praying he'd go for black becasue it would make my job a lot easier... like 2-coats-per-piece easier.

Here's how the tables turned out.


I'm sure you are wondering is he liked the black??  Yes, my friends.  So much, not only did he agree to paint his dining room pieces black, he also bought these 2 tables on the spot...  woo hoo :)


Jan 9, 2014

Another Hall Tree!

I snagged this hall tree off kijiji months ago... Oh man, I can remember what a pain it was.  The guy and I were going back and forth on a price for at least 20 emails.  Finally we settled, and I got him to deliver it to my house.  When he arrived, it was pouring rain, the guy was a jerk, and the hall tree was in worse shape than he led me to believe.  Luckily, the bones of the piece were great and I had a vision....


Here is the sad hall tree before... 


And here it is after!


I did 2 coats of country grey (my favouirte neutral right now), distressed the edges and added bit of dark wax to highlight the edges.  This piece had to be done in a contrasting, light colour.  If I had done it in black, It would have looked like a dead, dark shadow.  Painting it in a light, neutral colour allowed me to sand down the edges and have the black pop through.  I saw one in Home Sense almost identical to this for $500 bucks.  Crazy.

P.S. This piece is available for purchase.  

Jan 6, 2014

White Washing with Chalk Paint

I picked up this coffee table at one of my favourite furniture markets last year.  It's a heavy, solid piece and I only paid $4 bucks!!!  Originally, I was going to turn it into a clock, but I've been searching high and low for a clock movement kit large enough, and can't find anything for a decent price.

When I'm not sure what to do with pieces, I let them sit in my workshop for a while until they 'speak' to me... sometimes, it hits me like a ton of bricks - that's what happened with this piece. It sat there for months, and then one day it clicked - WHITE WASH it!! It's the perfect colour wood, perfect grain... so I went for it!

Here is the piece Before & After... and you can scroll to the bottom for step by step instructions.


White washing with chalk paint is quite simple, but very messy.  You need lots of space, lots of rags, and no interruptions (which is hard in my house - have you met my husband??).

I used half paint, half water.  Brushed it on quite thick, then wiped it off.  Let it dry, then sand.  I did this about 3 times before I got the consistency I wanted.  Then waxed the sucker a million times.  

I had a customer wanting to purchase the piece, but last minute, my husband wanted to keep it.  That's a huge compliment in my books, so it's in my family room waiting to be destroyed with kraft dinner and hot wheels.  

A few more pics.... and step by step instructions:


How to White Wash your furniture:

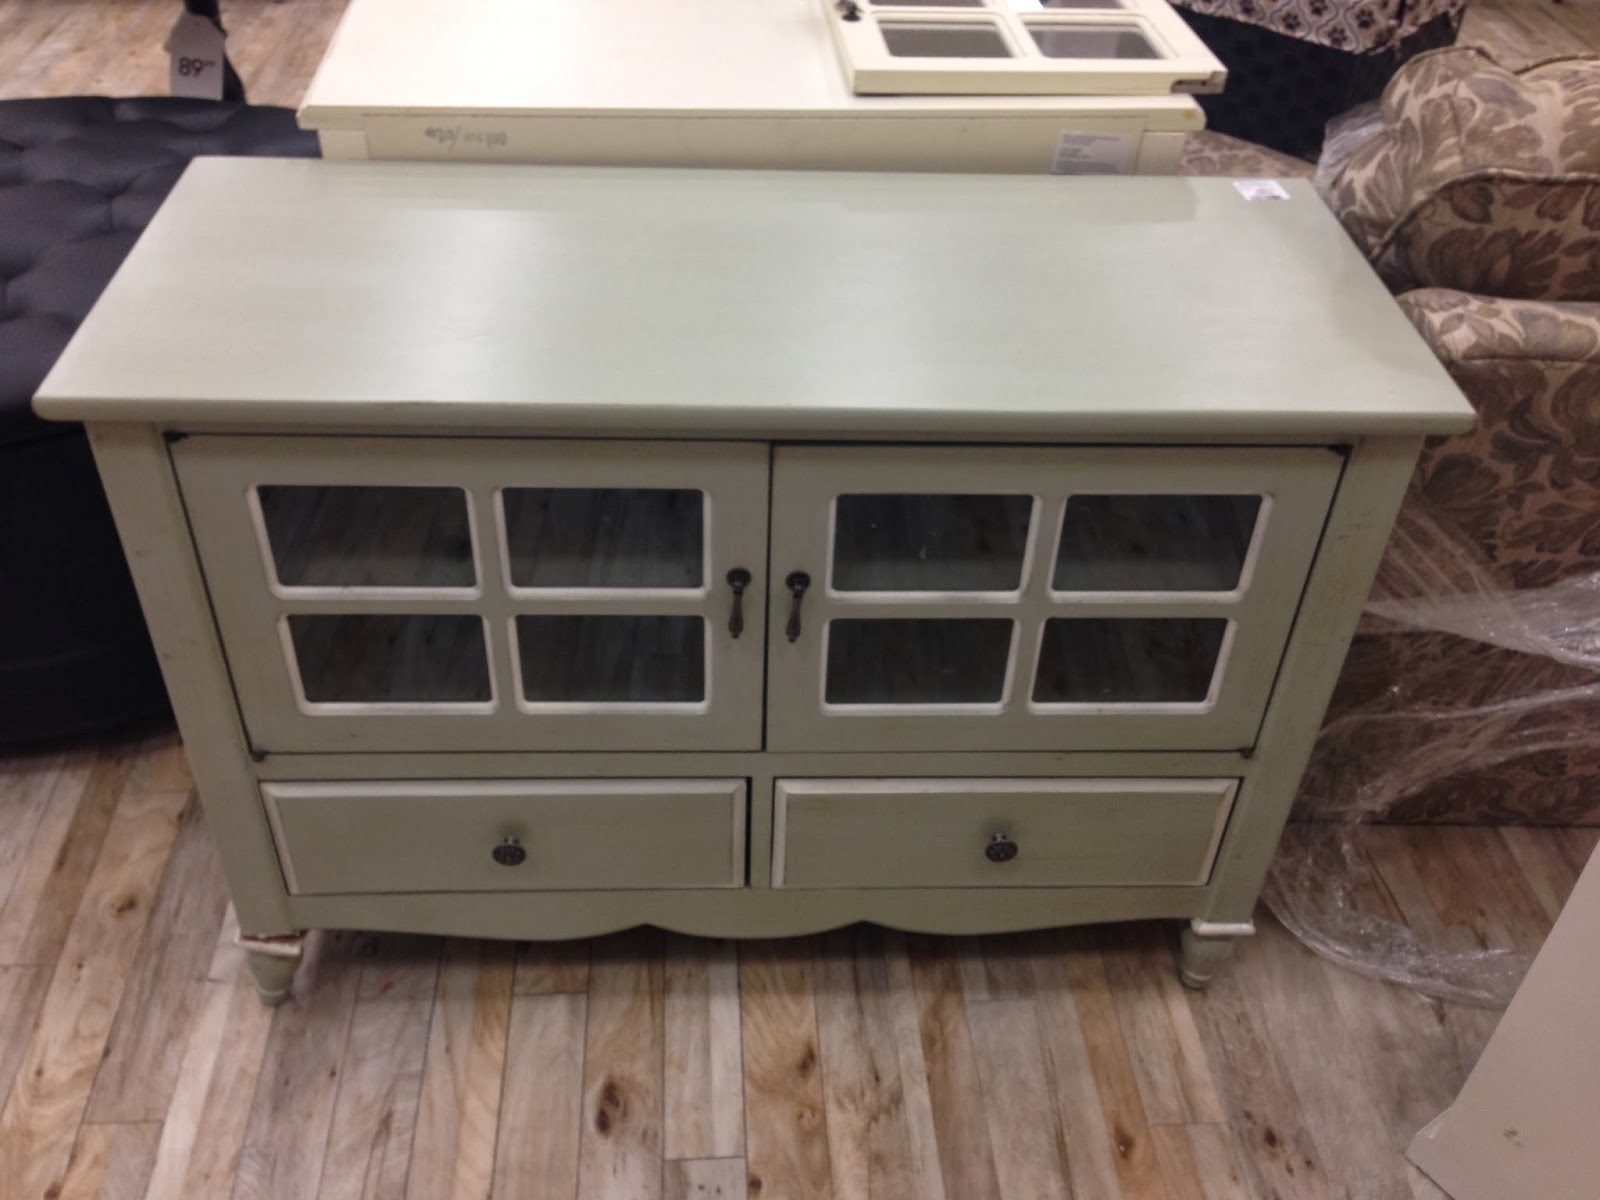
1. Most Important!!!! Choose the right piece of furniture to white wash.  Choose a piece of furniture that has wood dark enough to show through the wash, but light enough to be able to see the grain.  My piece has very visible wood grain lines, and was a nice medium brown colour.

2. Give your piece a good clean.  You can't have any dirt, dust or grime.  It will show through.

3. Choose your colour - I used Annie Sloan Old White.  Pure white, or another light, neutral would work.

4. Dilute your paint.  Half paint, half water and give it a good stir.  Don't worry about bubbles.

5. Brush the paint on a small section, then using an old rag (I used an old towel cut up), wipe the paint off.  Don't wipe it all off.  Wipe enough off so you can kinda see the wood underneath,

6. Continue this process for the whole piece.

7. Let it dry for an hour or so.  Then give the piece a light sand.  I used 120 grit.  Just clean up the heavy sections and sand it down so the white is consistent on the whole piece.

I did this process about 3 times to finally get the colour I wanted.  No one said painting furniture is quick and easy my friends....

If you have any questions, just send me a quick note!